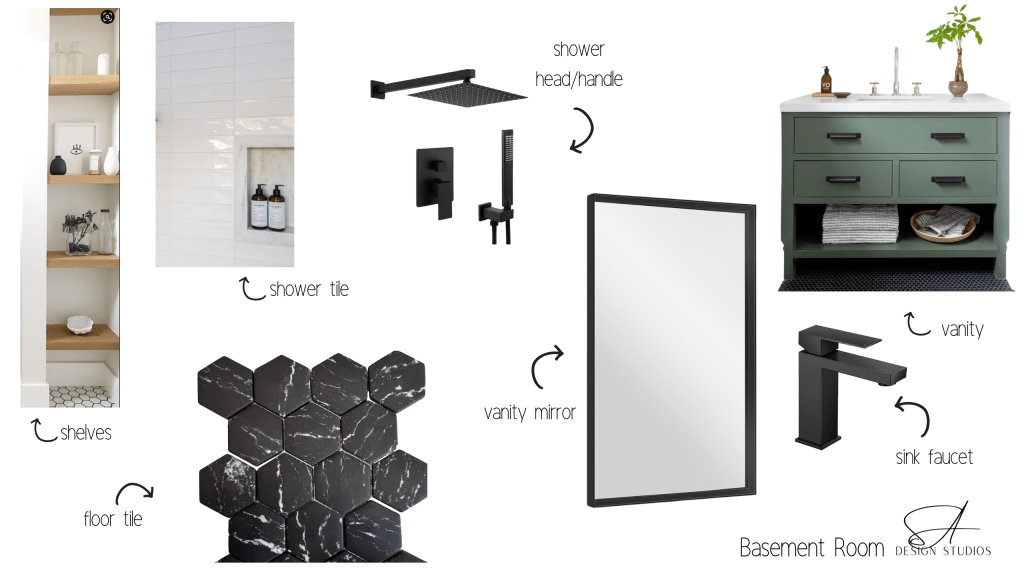
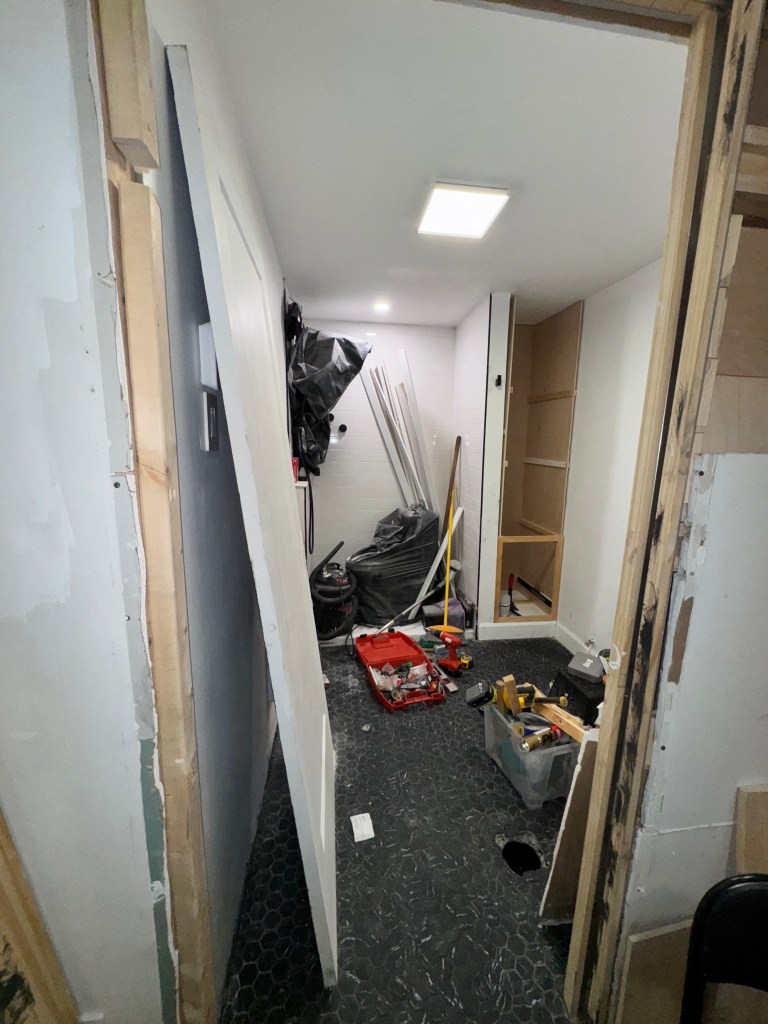
Quick recap: our basement bathroom was completed and then it was not! Full details on our DIY Basement Bathroom disaster here.
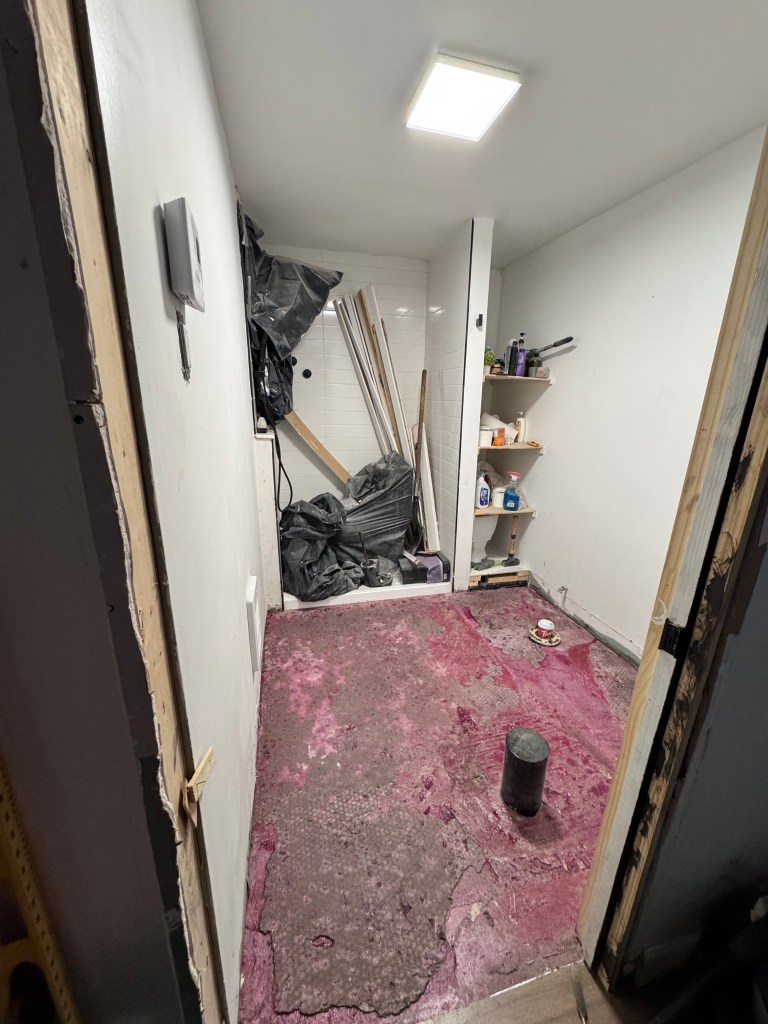
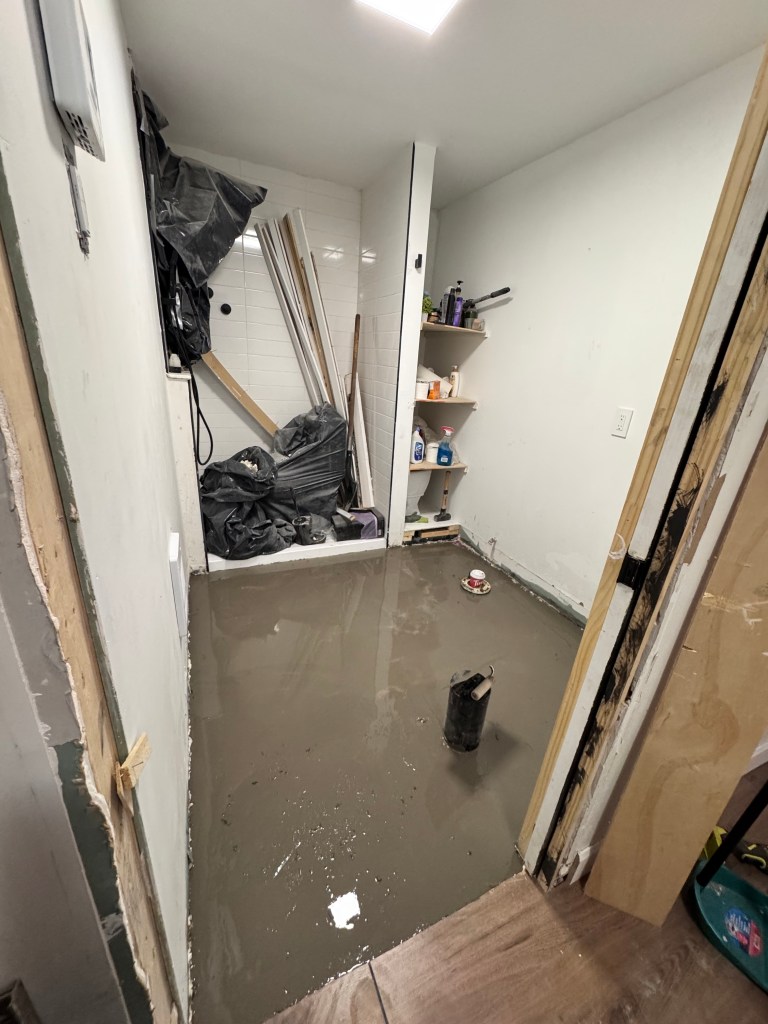
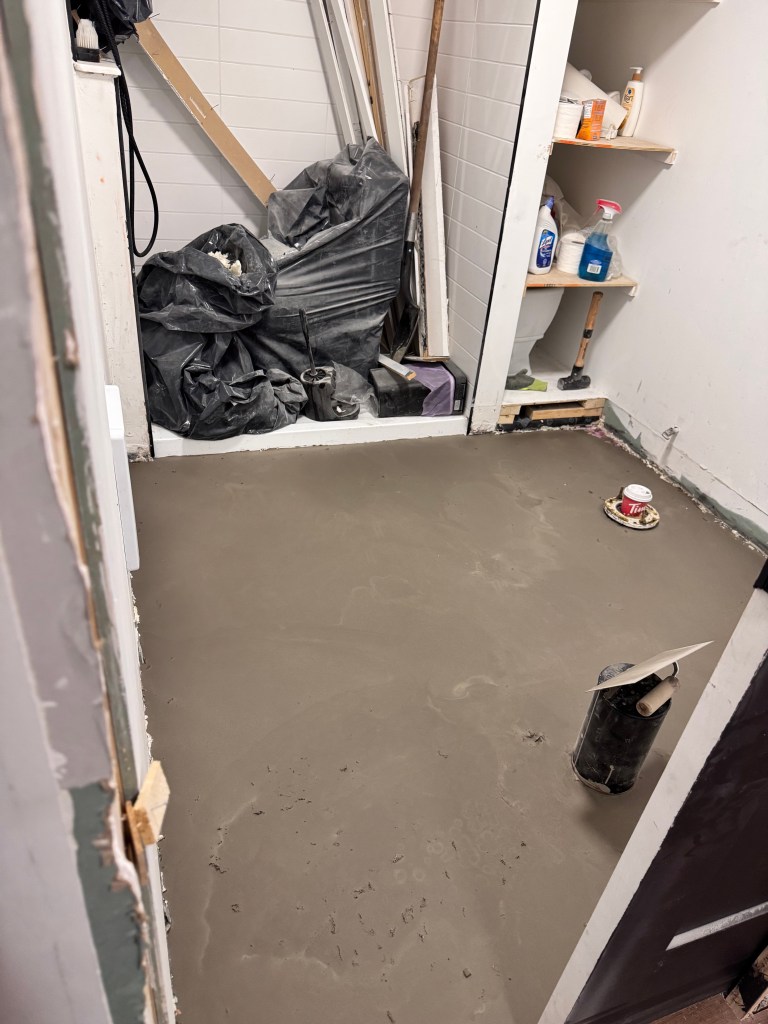
We tore out the tile and had the back water valve re-installed (correctly this time). We closed back up the floor, used self leveler to prep for tiling and installed new tiled.

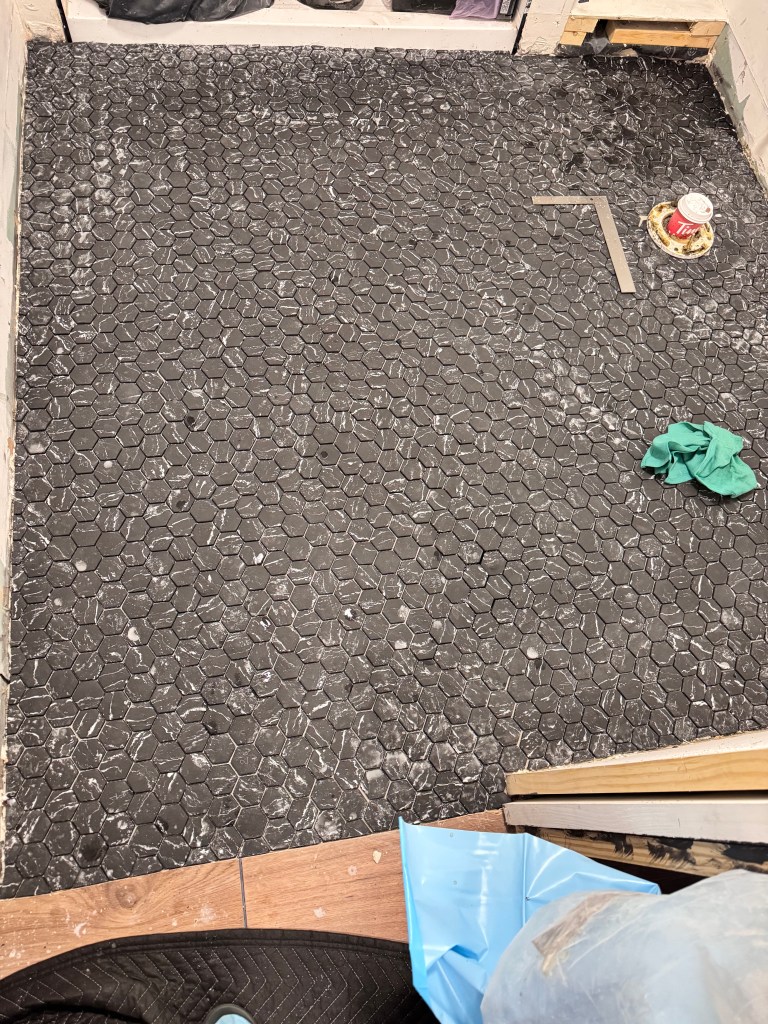
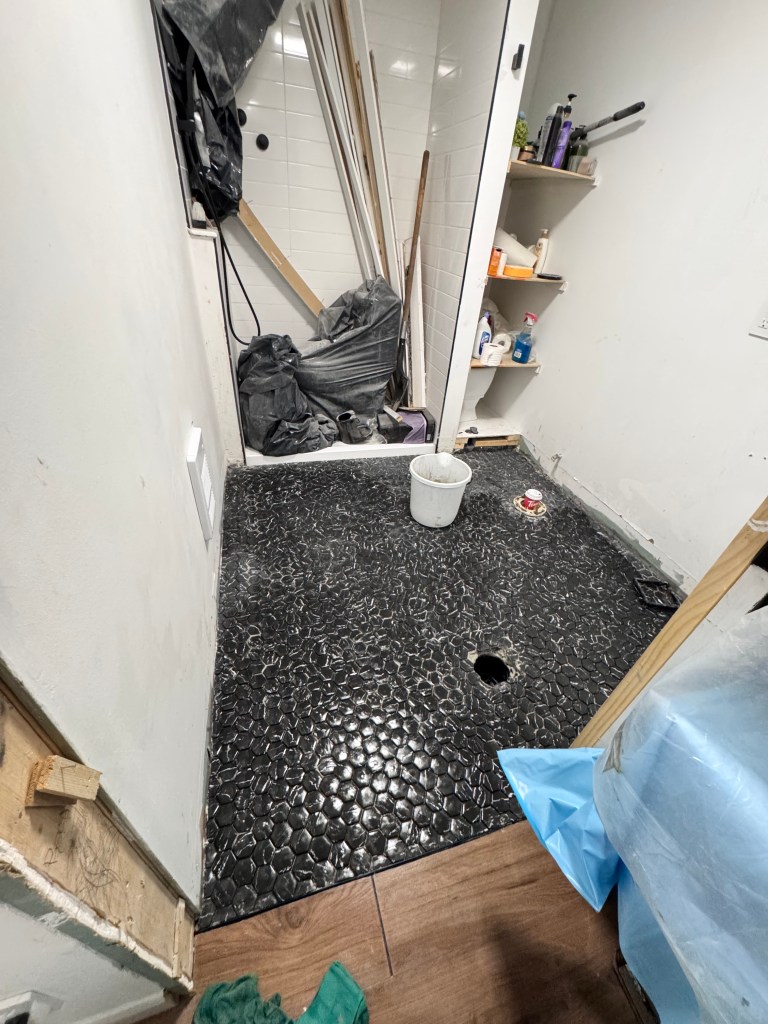
Tiling was pretty straight forward. I pre-cut all my pieces and dry fit everything before hand. This was a lesson learned from my first floor tiling project.
We still were (are) in love with our original bathroom mood board, so we chose a similar tile. Switching the plain penny octagon black tile to a 2×2 black & white veined octagon mosaic.

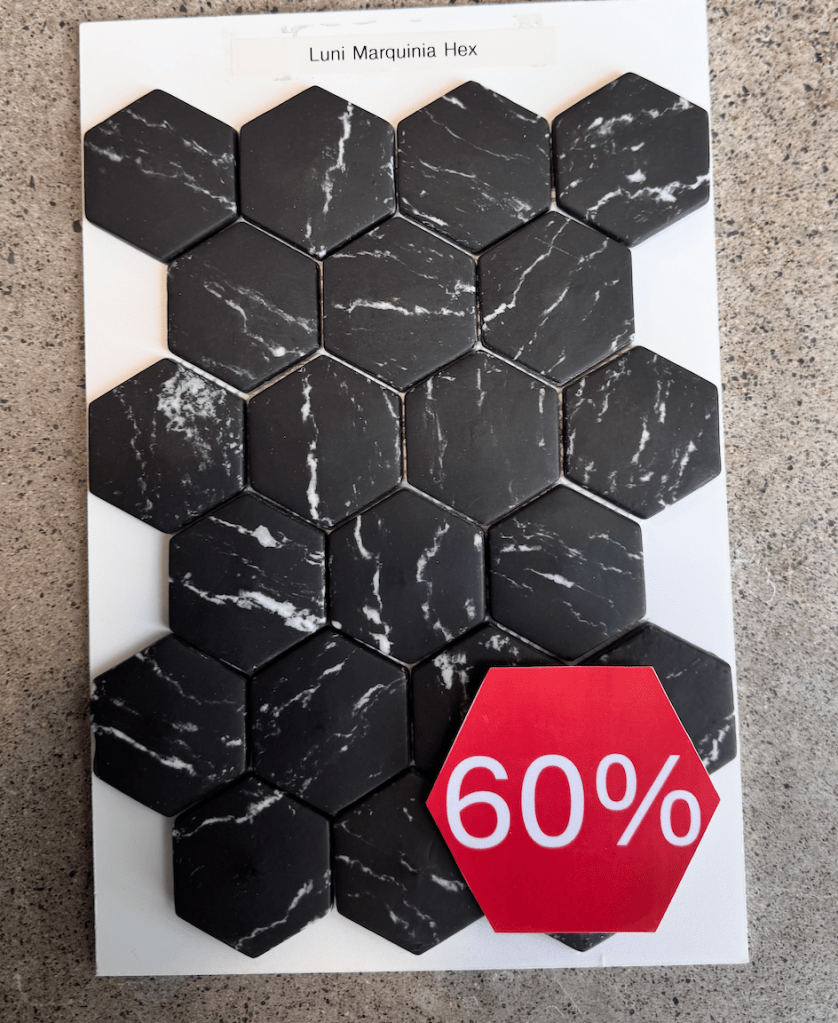
A closer look of the tile we went with.
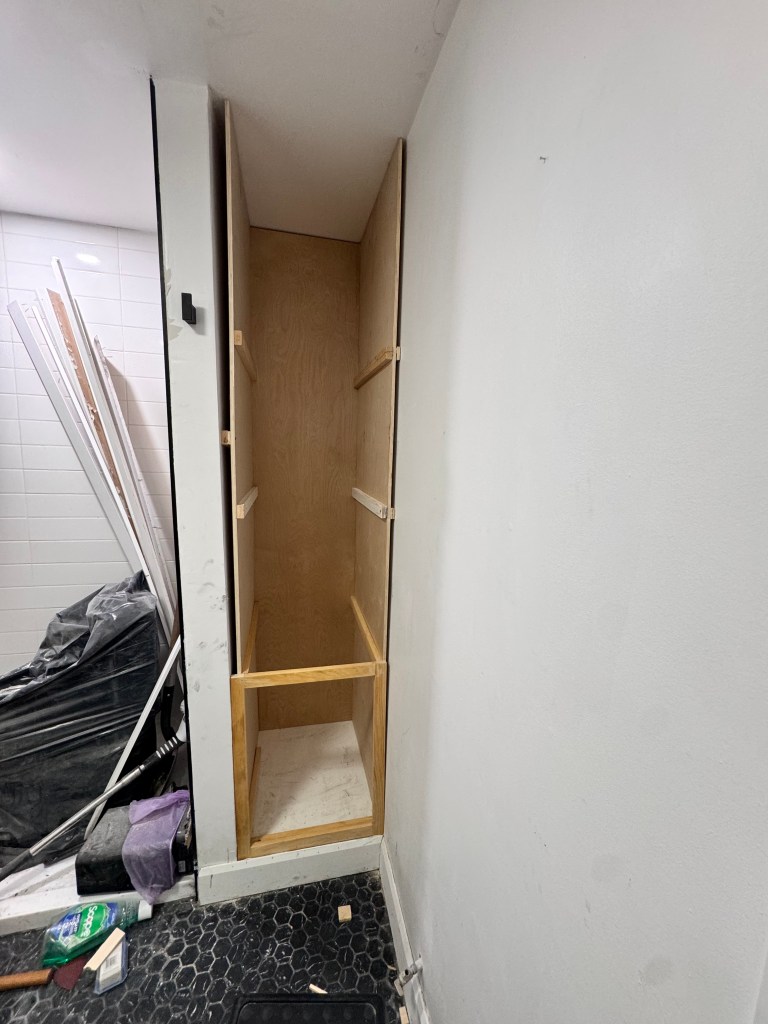
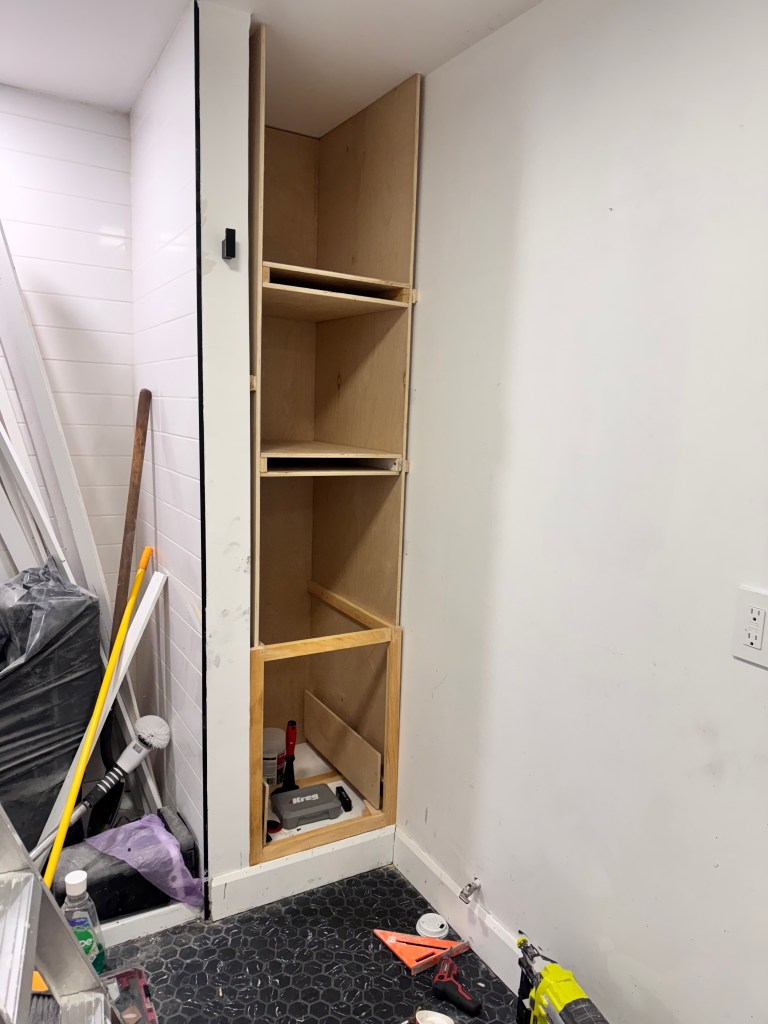
With tiling complete. I moved on to our storage solution. I decided to build a built-in storage solution for the bathroom instead of floating shelves. After living with the bathroom, I realized adding closed storage was a must.
I measured out the area and took my measurements to Home Depot. We got 1/2 pre-finished Birch wood and had the pieces cut to size
In true DIY fashion, measurements are never 100% as walls are never 100% straight.
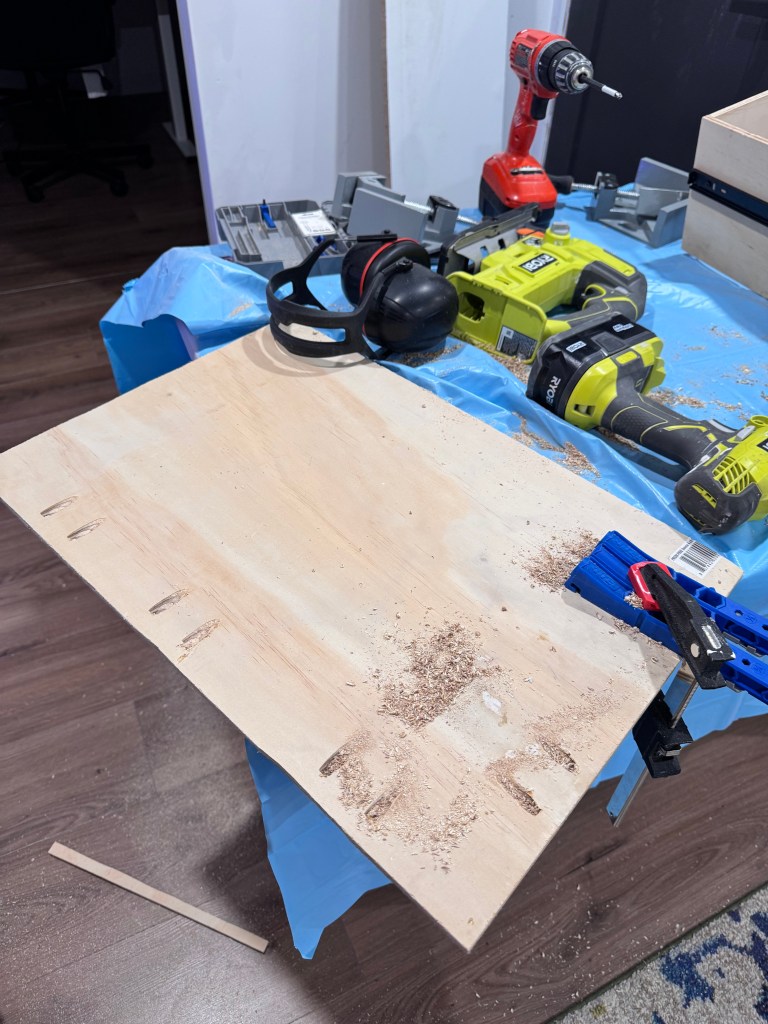
Despite having everything pre-cut, I did have to pull out my table saw and make some adjustments.
I used pocket screws and wood glue to assemble the body of the unit.
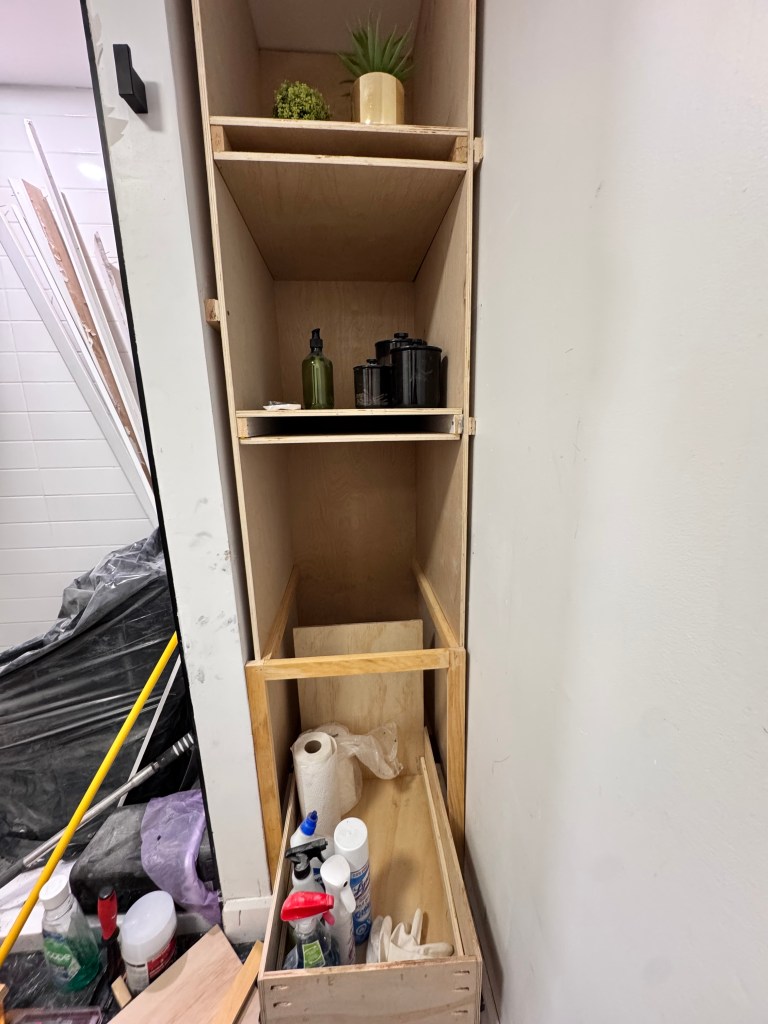
I put the body of the built-in in place. Once it was level and secure, I added floating shelves and opted for a large bottom drawer.
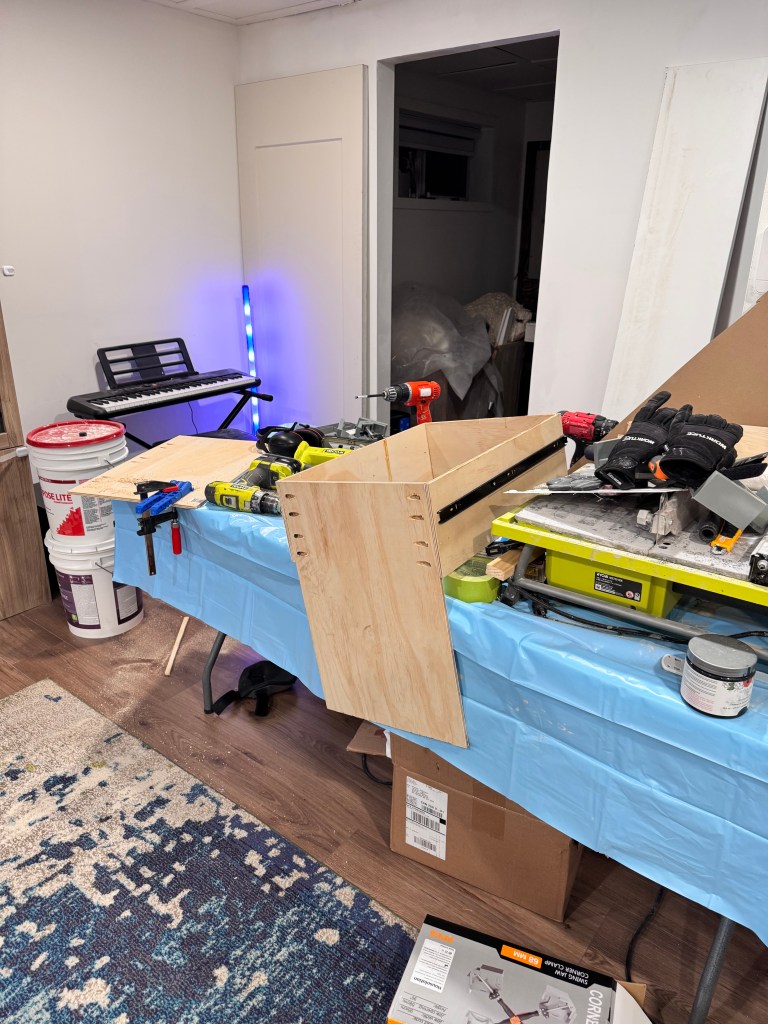
This was my first time building a drawer and it was pretty straight forward. I assembled it out of 1/2 & 1/4 plywood, pocket screws and wood glue.

The drawer fit perfectly on the first try. Energized off of my drawer success, I started decorating my unfinished shelves. I tested out the drawer, loading it with cleaning products.
Because I used 1/4 plywood for the drawers, I had to add some scrap wood to the sides to support the screws for the drawer slides.
I purchased drawers slides that are rated for 100lbs, which is over kill for what we will be using it for.
You might be asking why the back is higher, this was intentional. I built the back of the drawer higher to prevent anything from falling behind. Once the toilet is in place, removing the drawer will not be an option.
I am really happy with my decision to do mixed open and closed storage. This large 18×22 drawer will provide more than enough storage to hide all the ugly bathroom necessities.
Happy with my progress, I stopped there.
I still have quite a few “to-dos” before we can say this bathroom is 100% done.
Some of the to-dos include:
- Installing the drawer front
- Repainting the vanity
- Painting the built-in to match the vanity
- Repainting the bathroom
- Sealing the tile
- Installing the toilet & vanity.
I am hoping to complete this renovation before the end of March.
Follow along for the next bathroom update.
Thank you for reading.
Disclaimer: I am not currently apart of any affiliate programs, and do not earn any commission off of these links. Where possible please let the vendors know I sent you, thanks

Leave a comment