
What’s the One Room Challenge?
The One Room Challenge® (ORC) is an 8 week challenge for designers and DIYers alike to transform one room of their choosing into their wildest dreams. It’s not a competition but rather a support group for designers/DIYers to uplift and encourage one another. Click here to find out more!
Update
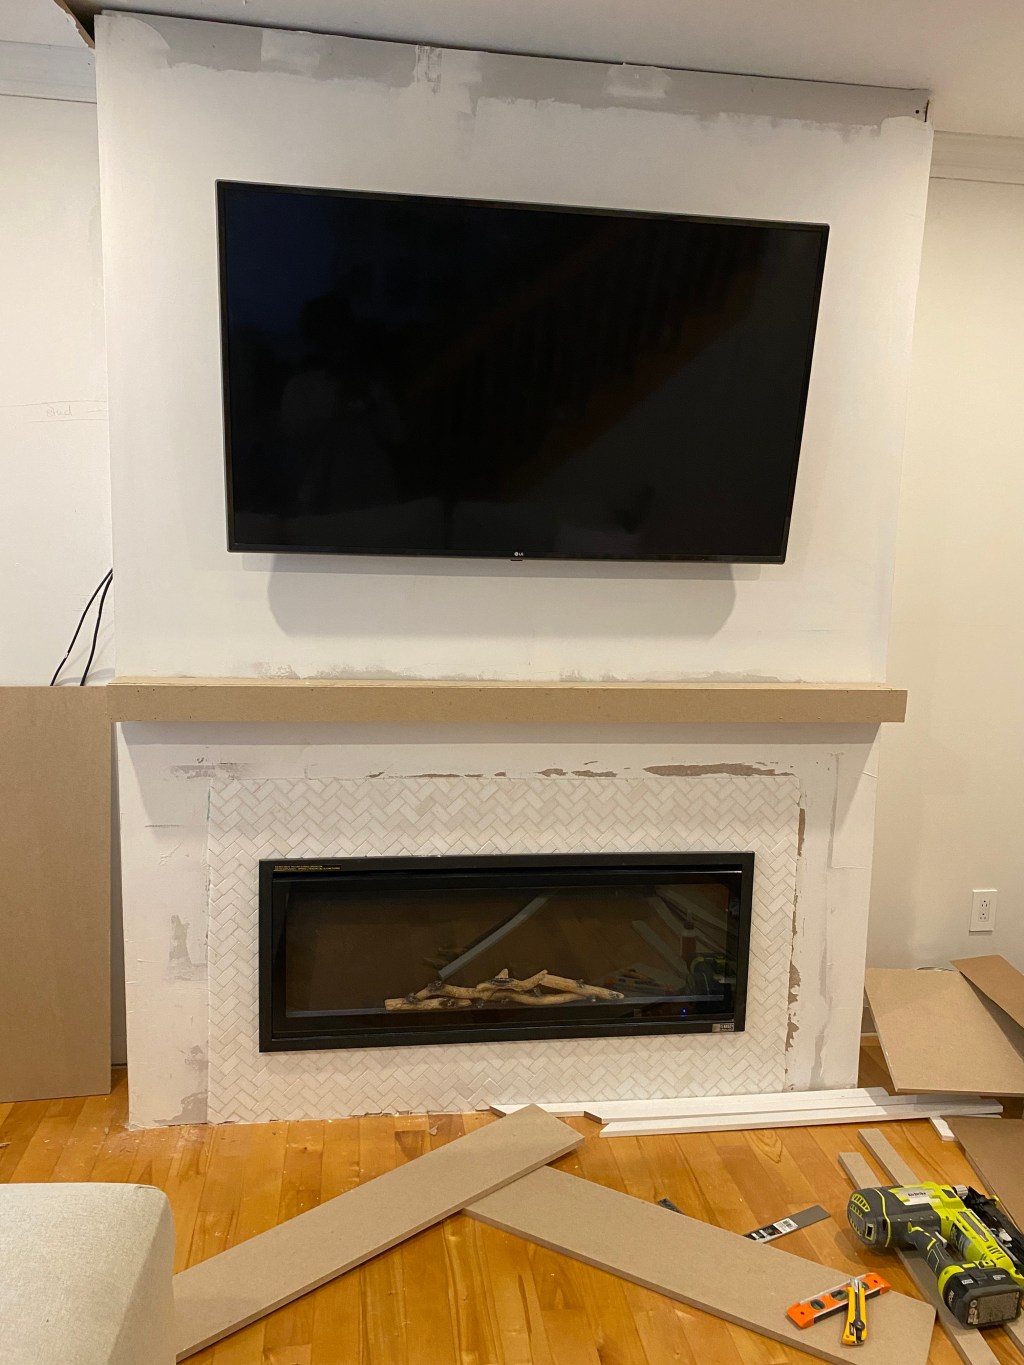
This week my goal was to try and wrap up any part of the project that required a power tool!
Whenever I get in project mode the room I am working on becomes a disaster zone and lets not even mention my garage. So this week I wanted to wrap up all the use of my tools so I could clean and get a bit of my sanity back.
I started by completing the mantel. I chose to work with MDF, because of the price point. This stuff is produces way more dust than wood in my opinion… definitely think I’ll be paying the extra bucks for wood moving forward.

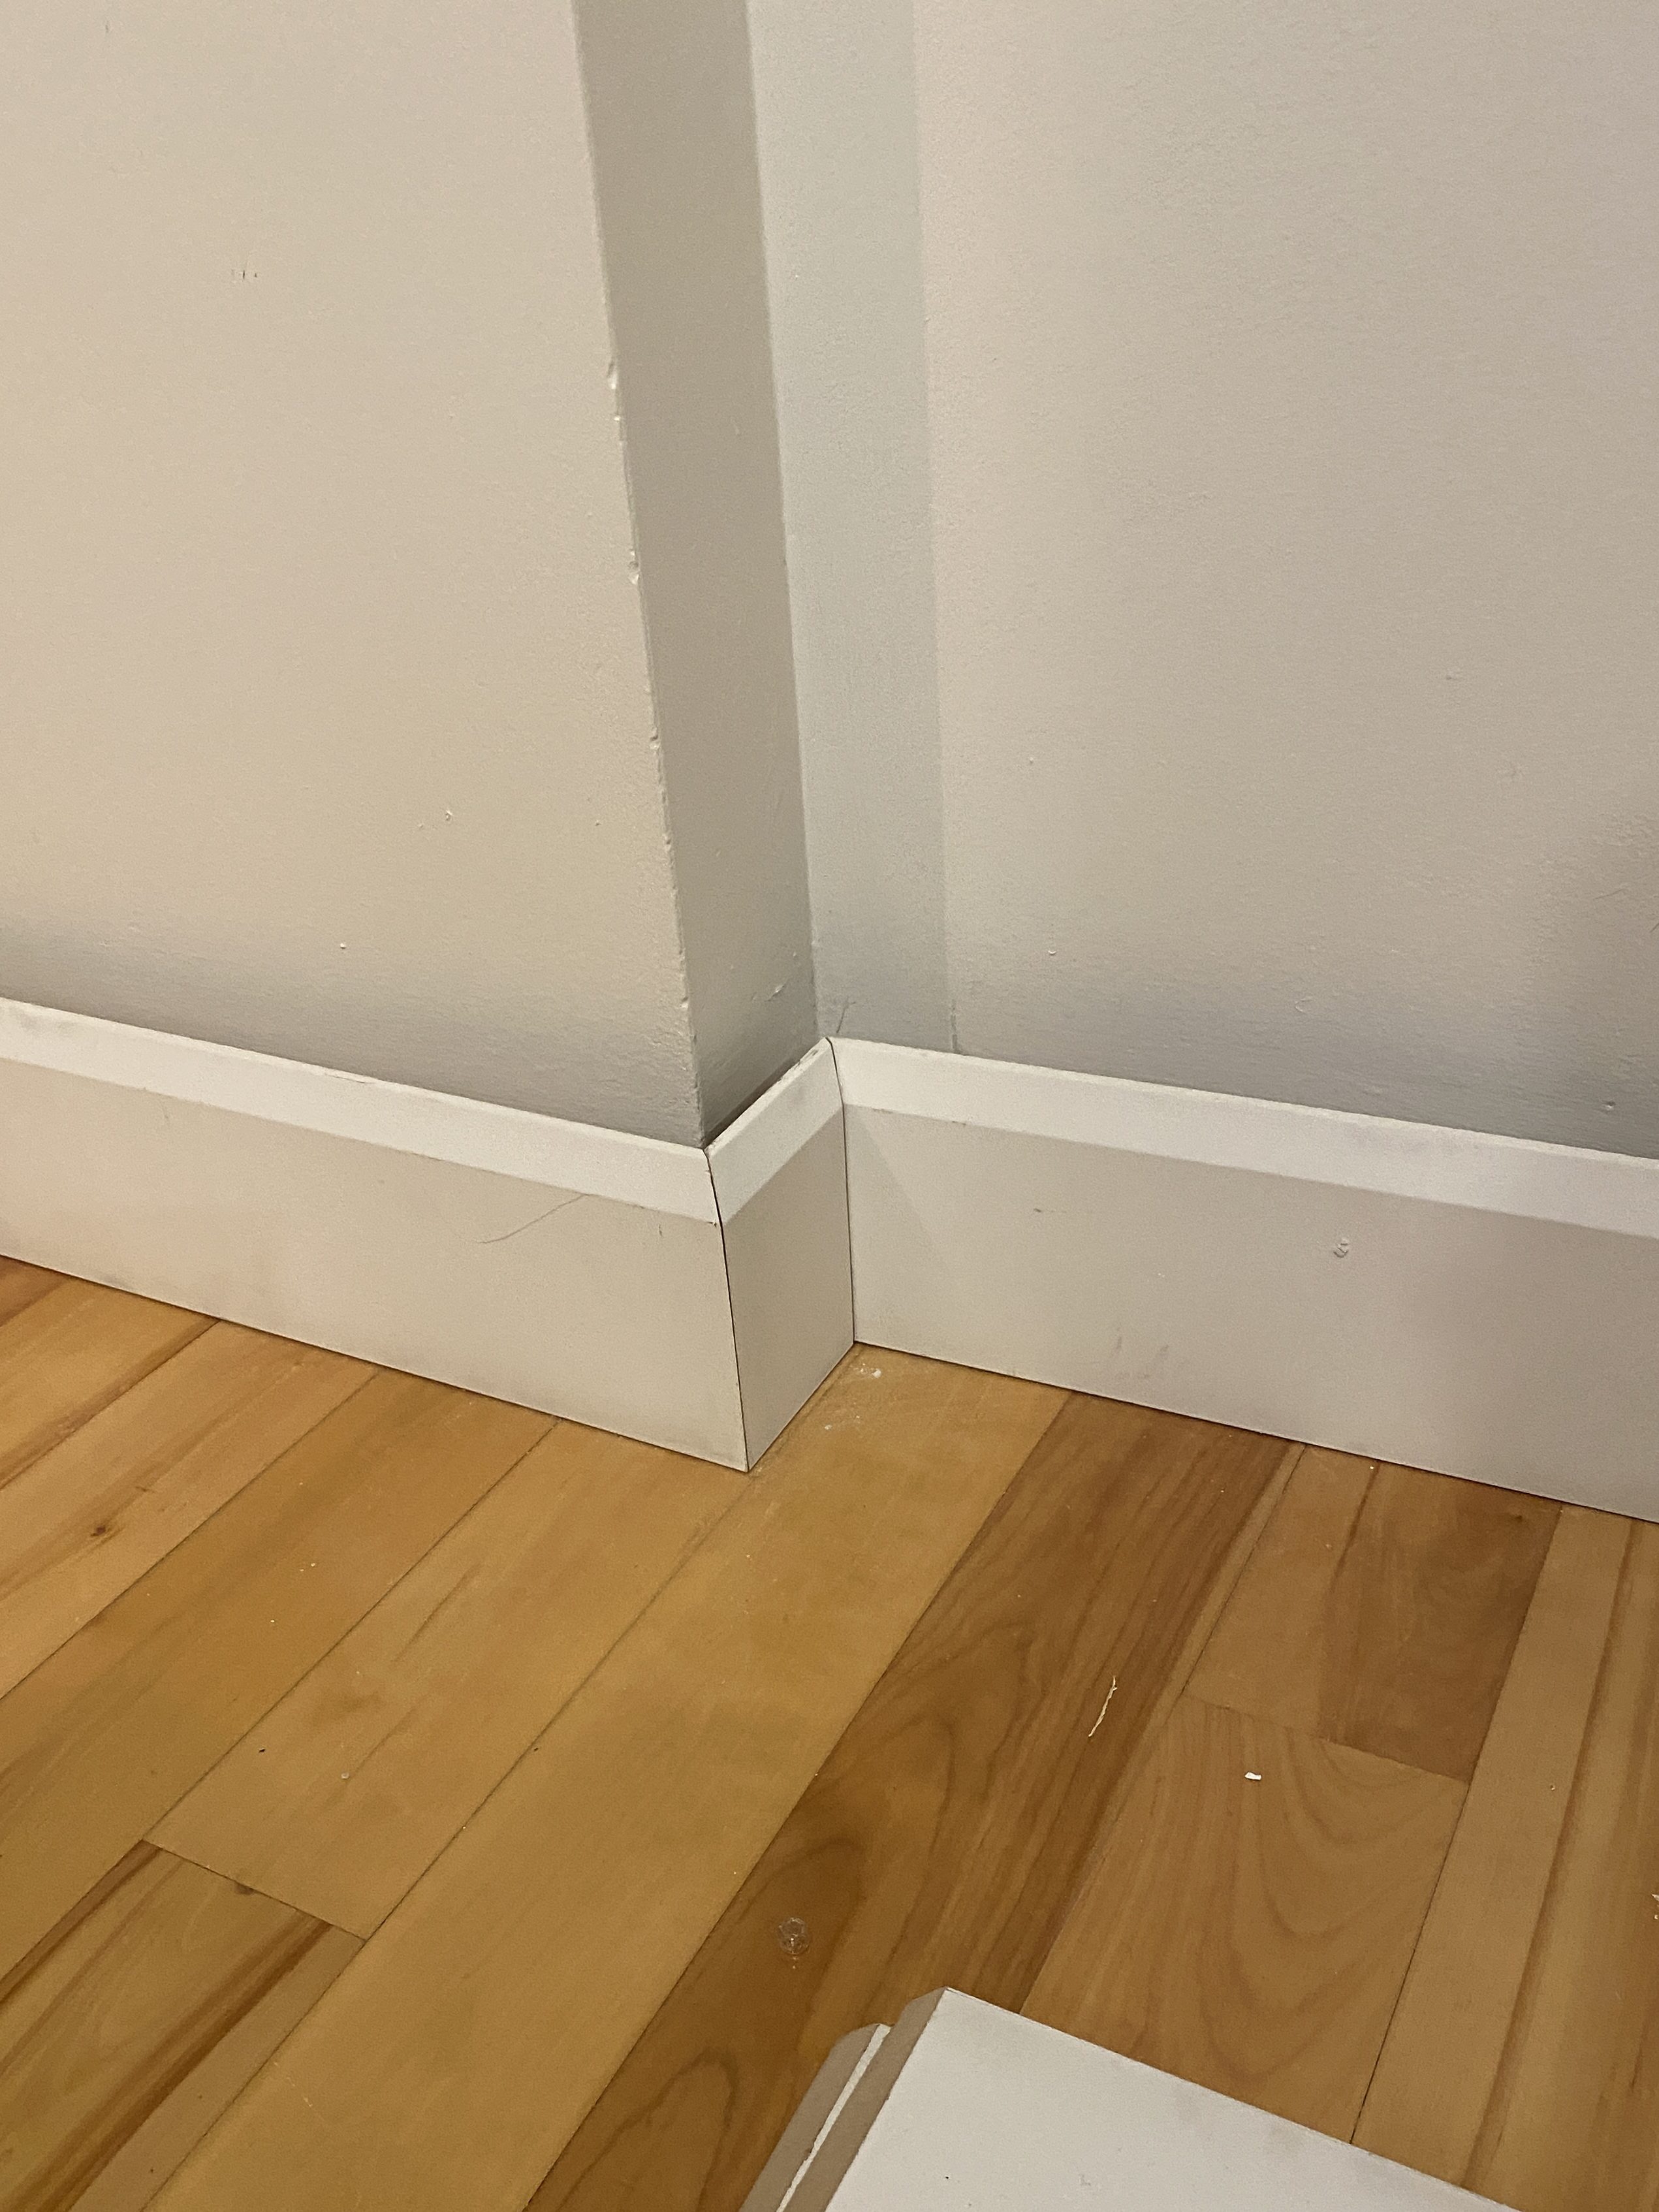
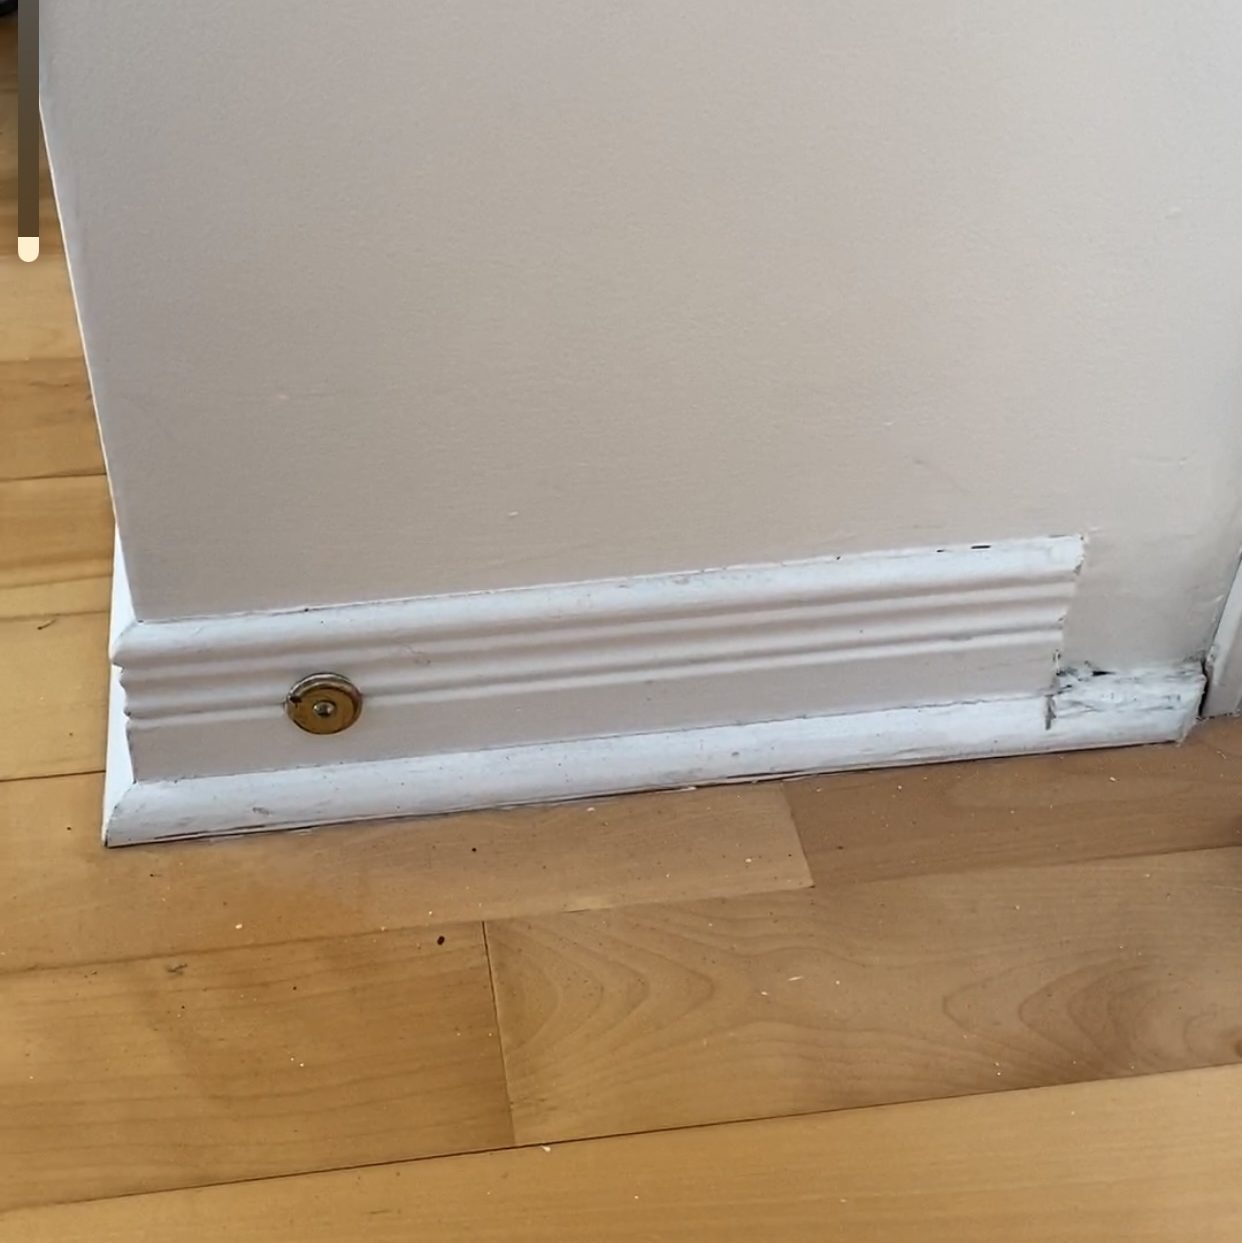
With the mantle done, I decided I would start tackling the baseboards. After a few miss-cuts, I got into the hang of it and started rolling. Second to paint I think baseboards are the easiest way to update a space. Changing the baseboards alone brings an immediate modern feel to the room. I cannot wait to say goodbye to the old ugly baseboards and trim (see below) in the rest of the house!


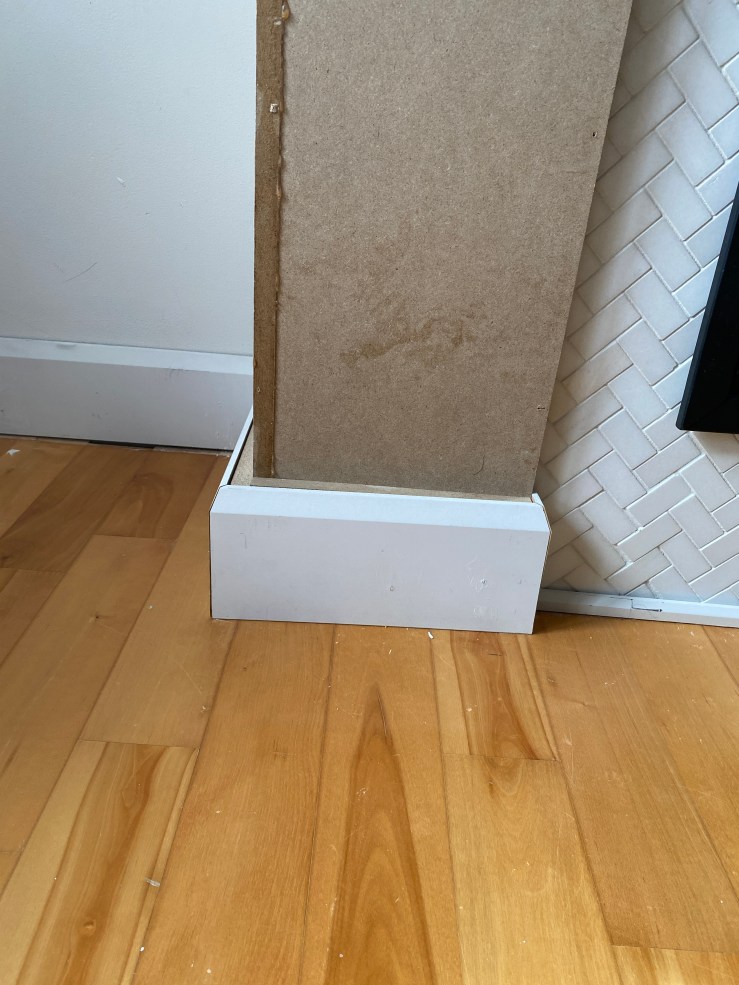
Once I installed baseboards up to the fireplace, I had to hit the pause button to figure out how I was going to trim out the fireplace surround. Luckily the folks who I pulled my fireplace inspiration from had a tutorial on how to do this. I pretty much followed it to the letter, except for dimensions of course and a few design tweaks. I wrapped the fireplace in MDF to give it some dimension. Then I cut a backer piece for the baseboards to sit on, so they would not be flush with the MDF (see picture below).
I then completed installing the baseboards around the fireplace and throughout the rest of the living room.
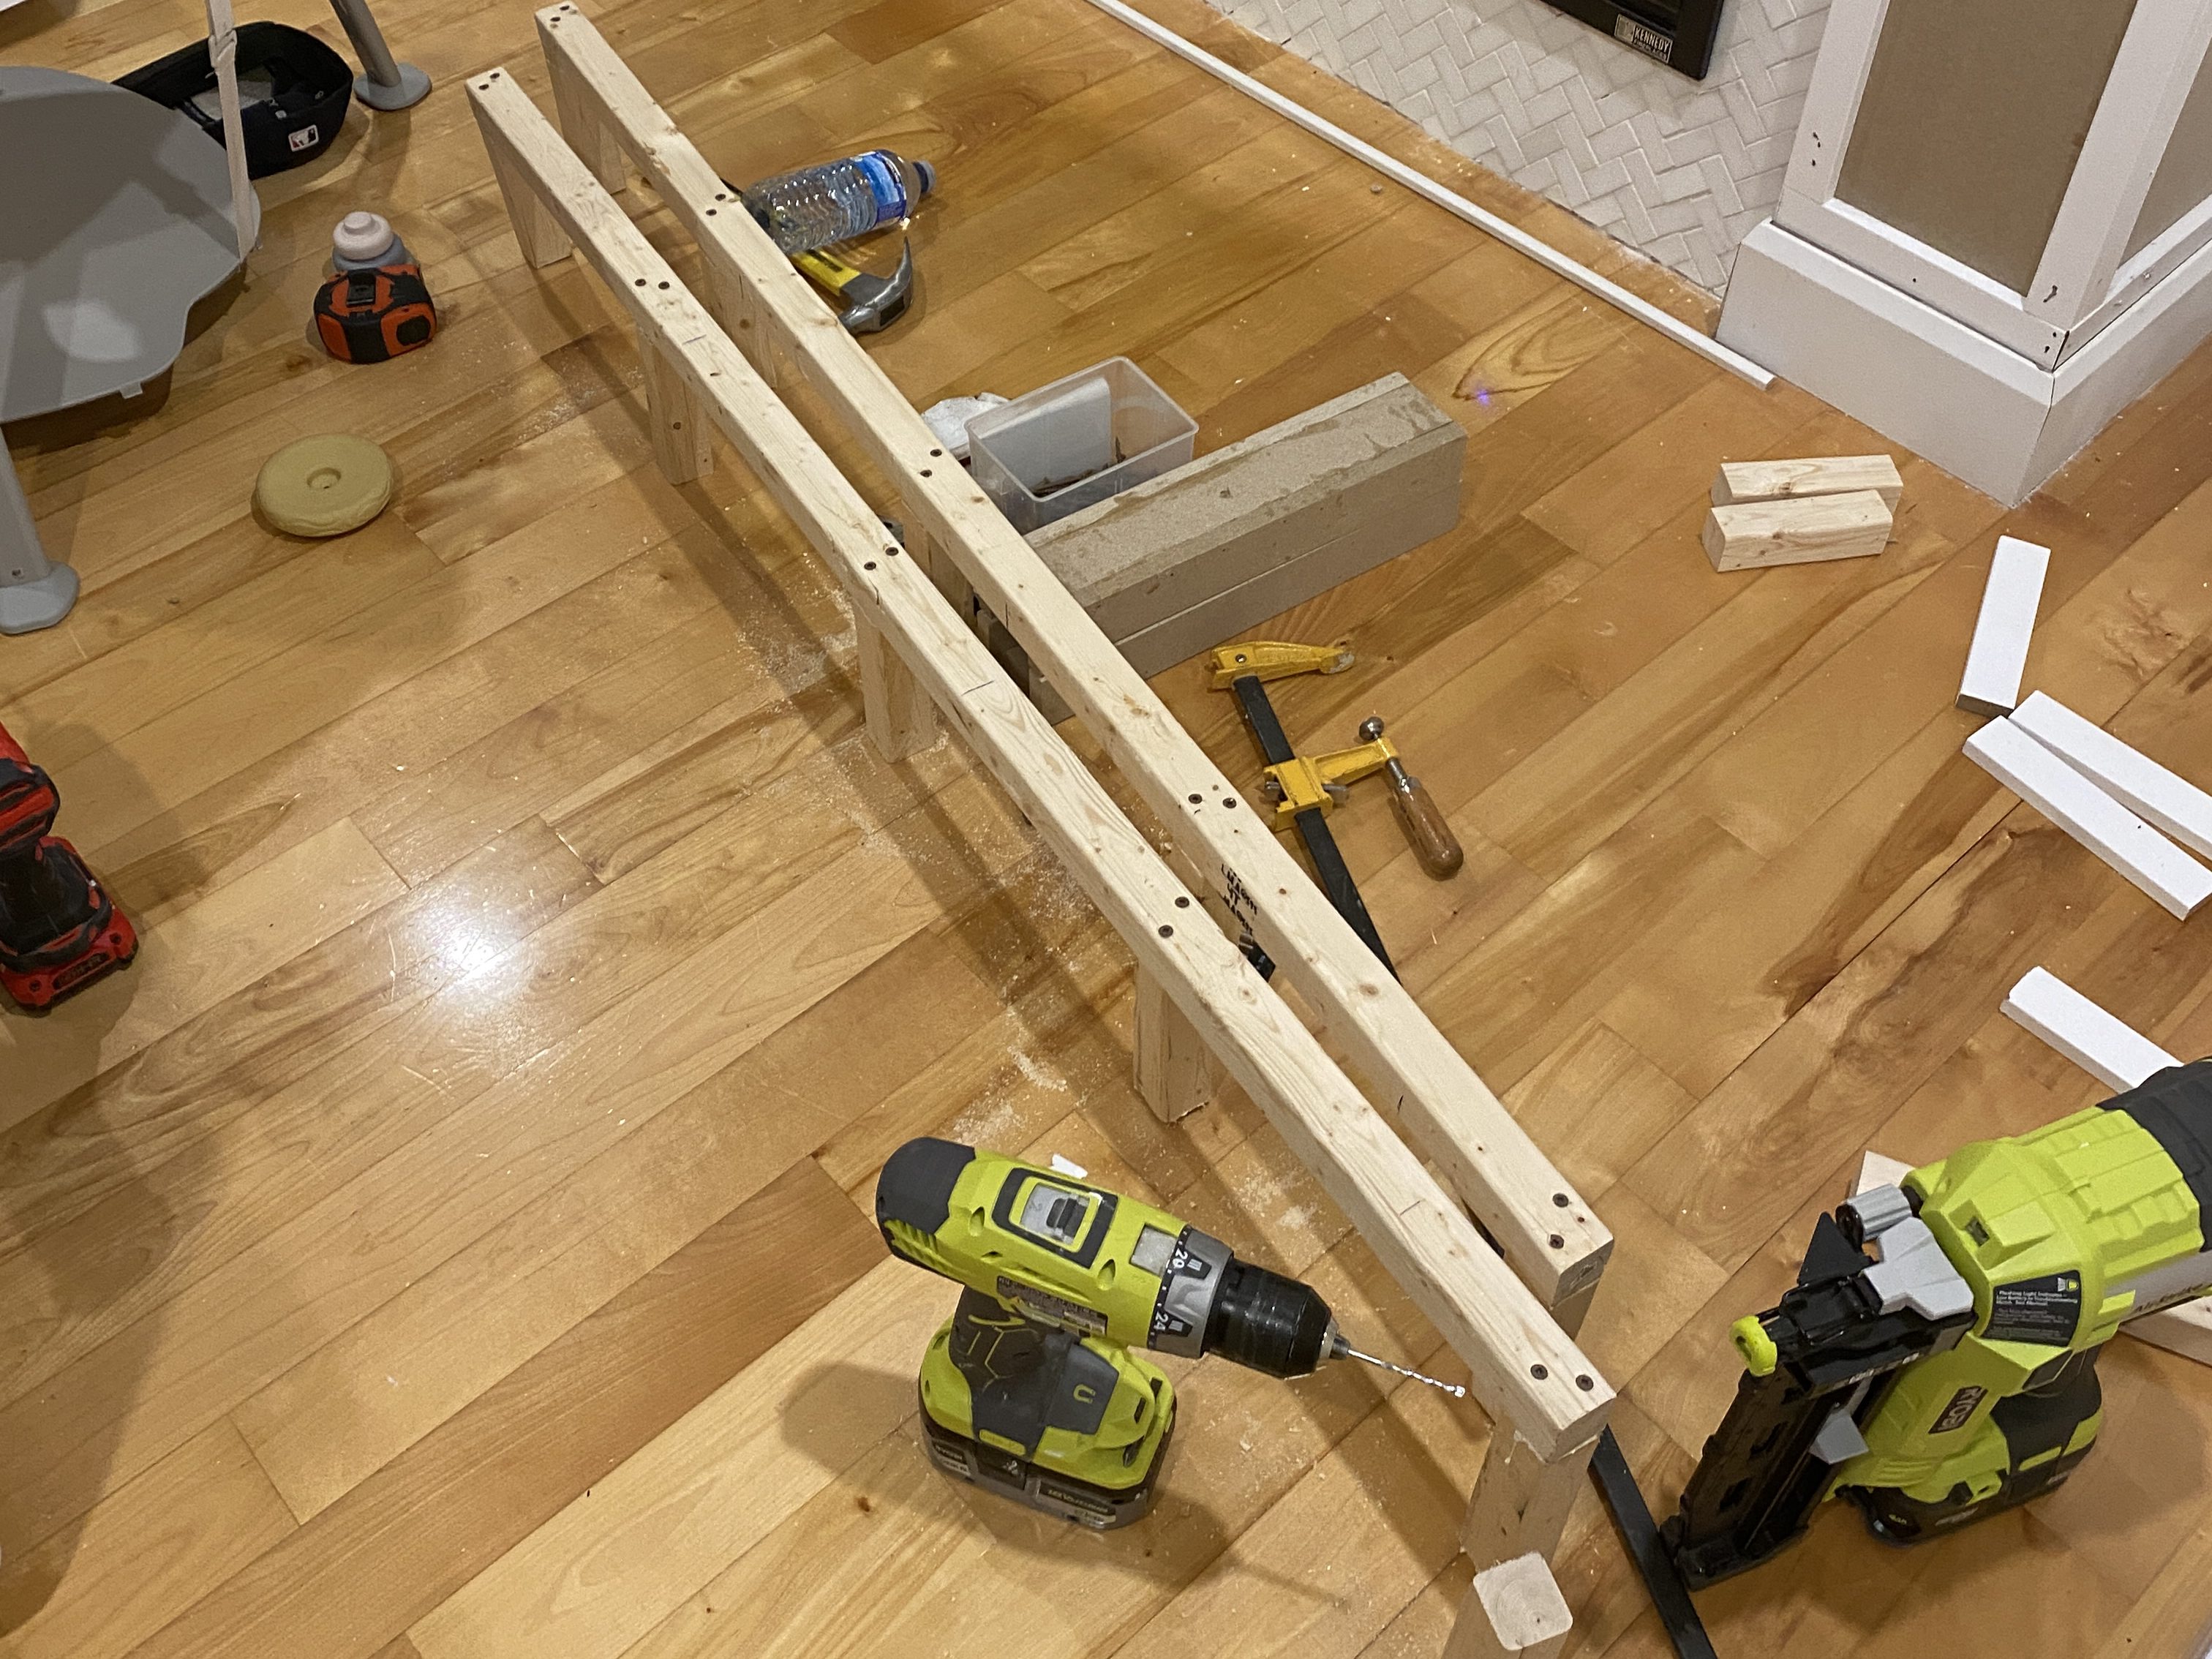
I got a surge of energy late Wednesday evening when my 7 month was sleeping (rare, lol) so decided to tackle building the frames for my floating shelves. I built four frames in total, I will install two on each side of the fireplace.
This was the easiest part, I used 2×2 and cut to the size (53″) and then cut braces 5″ to give me an overall depth of 7″ all together (mini tutorial post will be posted here, shortly). Next will be purchasing the wood, still undecided if I want to stain or paint them. Stain was my initial though, however because there will be other wood elements, I am kind of worried of it giving to farmhouse-eee.
The forever growing “to do” list… (bolded items were completed this week)
Build mantel frameInstall mantel frameFind tileInstall electrical fireplaceTile fireplace surroundFrame fireplaceDrywall fireplaceHang TVPrime upper fireplaceFind an area rugComplete mantelInstall BaseboardsInstall trim around fireplaceFill baseboards/trimBuild Floating Shelves- Extend crown molding around fireplace
- Caulk baseboards/trim
- Paint upper fireplace, baseboards, crown molding and ceiling
- Install Floating Shelves
- Stain shelves
- Find creative seating
- Find a console table
- Find an end table
- DIY Plaster Art
- Decorate, decorate!
The goal for week 6 is to either build or buy both a console table and side table and complete the floating shelves.
Remember to check this weeks posts from my fellow ORC participants here!
Follow along on Instagram for daily updates and make sure if you aren’t already you follow the official ORC Instagram.
Thanks for reading!
Disclaimer: I am not currently apart of any affiliate programs, and do not earn any commission off of these links. Where possible please let the vendors know I sent you, thanks.

Leave a reply to ORC Week 2: Living Room Progress – Shandelle's House Cancel reply